
I still remember how frustrated I got when I first started grooming.
 I was the assistant, doing mostly bathing and drying for the groomer. One day, she was overbooked and was falling deeply behind schedule. She had a basic “all trim” on a larger dog that she hadn’t even started yet. Out of desperation she asked if I would remove some of the coat before the bath.
I thought to myself, “Sure, why not? How hard could it really be?” I picked up the A2 clipper as the groomer handed me the appropriate head. I twisted it on and set to work.
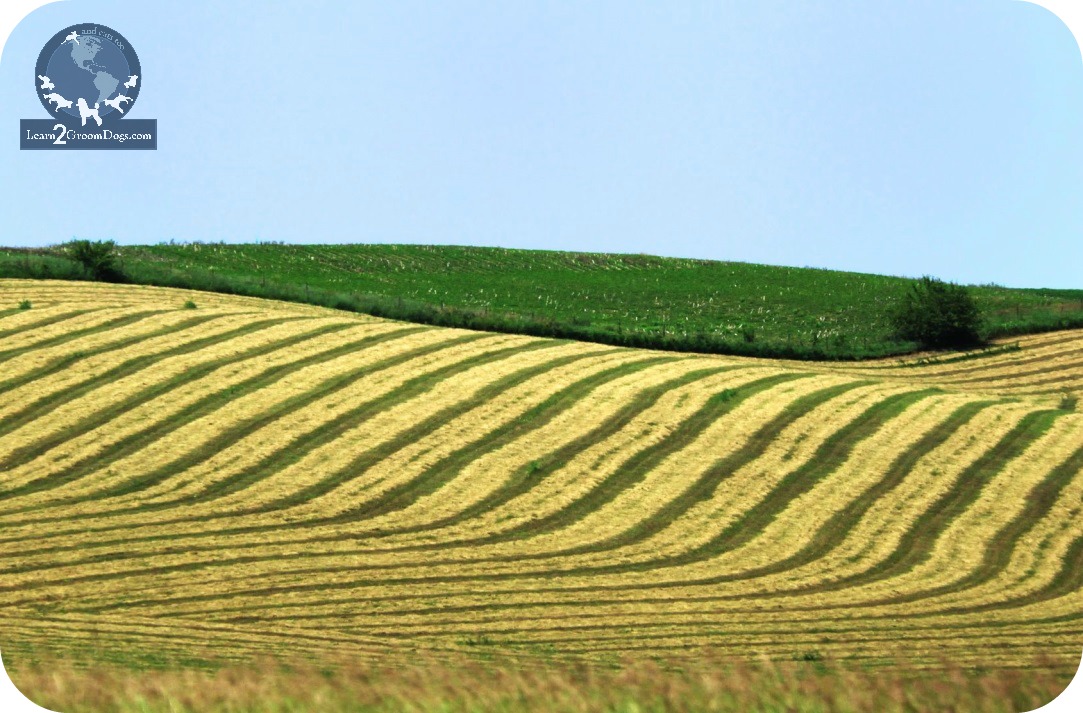
What a mess. The dog wasn’t hurt but my work was awful. The dog was full of uneven coat and lots of tracking.
The groomer had always made it look so easy. Coat seemed to melt off like a hot knife through butter. Her clipper work was always smooth and even. No track marks. No sticky-outies.
This was not nearly as easy as I thought! Read the rest of this entry »
 When I was a contest groomer, I always did my Poodle cuffs by hand. I would brush the coat down then give it a quick fluff with my comb. Once it was fluffed, I’d glide a long straight shear in and set the lower edge. Then I’d re-fluff and grab my long curved shears to round and bevel the edges. It was time-consuming.
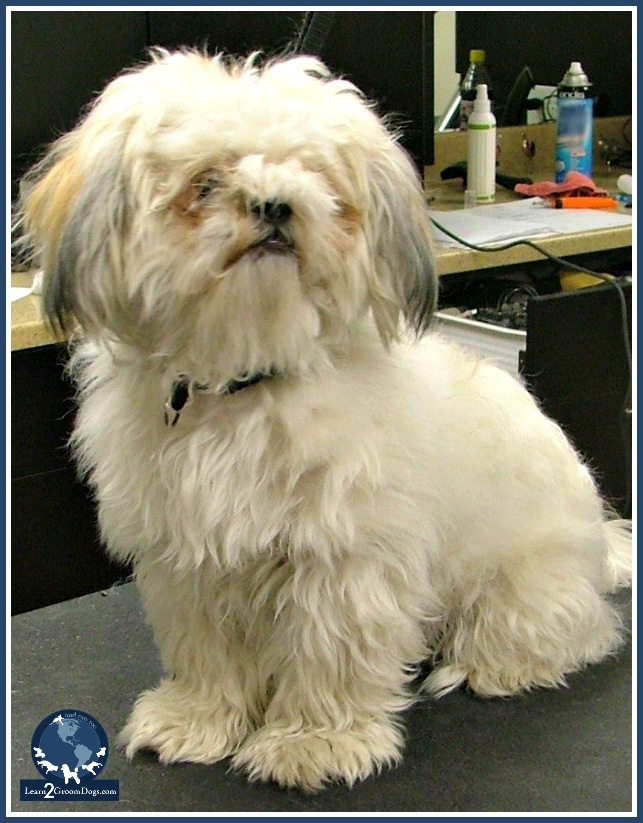


 In my years of teaching new pet groomers, I’ve seen hundreds of dogs take advantage of a new students. Dogs pull, squirm, whine, snarl… and bite. I’ve seen many students frustrated to the point of tears.
 Grooming systems allow us to go on autopilot. When we’re on autopilot, we can focus on the thing that matters the most – pets!
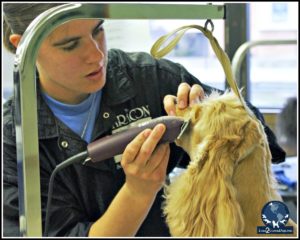 Speedy pet grooming is one of many ways we show compassion for the animals in our care. Grooming efficiently doesn’t mean you care less about their needs. You can groom a pet quickly while still being gentle, respectful, and without sacrificing quality and thoroughness.