 Drying Techniques
There are five basic drying techniques that professionals use on pets. They are based on size, coat condition, coat type and personality of the pet. The coat type will often dictate which technique is used to produce the highest quality result. The different drying methods are:
- Towel Drying
- High-Velocity Drying
- Stretch Drying
- Kennel Drying
- Blanket Drying
Today I’m going to focus on the most important drying method to master: high-velocity drying techniques. Becoming proficient at this drying method will increase the quality of your grooms while decreasing the amount of time it takes to groom each dog. Bottom line: that’s money in your pocket!
High-Velocity Drying
About the High-Velocity Dryer
This drying method produces the fastest results with the highest quality if used correctly on any given coat type.
The pros of high-velocity drying include:
- Quick dry time
- Very flexible procedure
- Adaptability for many coat types
- Removes loose coat on shedding pets
- Ability to do a large percentage of de-matting on many coat types
- Clear view of the skin
- Safe procedure for all skin types
The negative points are:
- Some pets object to the noise and force of air
- It can tangle a long coat
- It will produce a mess on heavily shedding pets
As you can see, the positive points far outweigh the negative. Almost all of the negative points can be overcome through proper pet/dryer handling and correct technique.
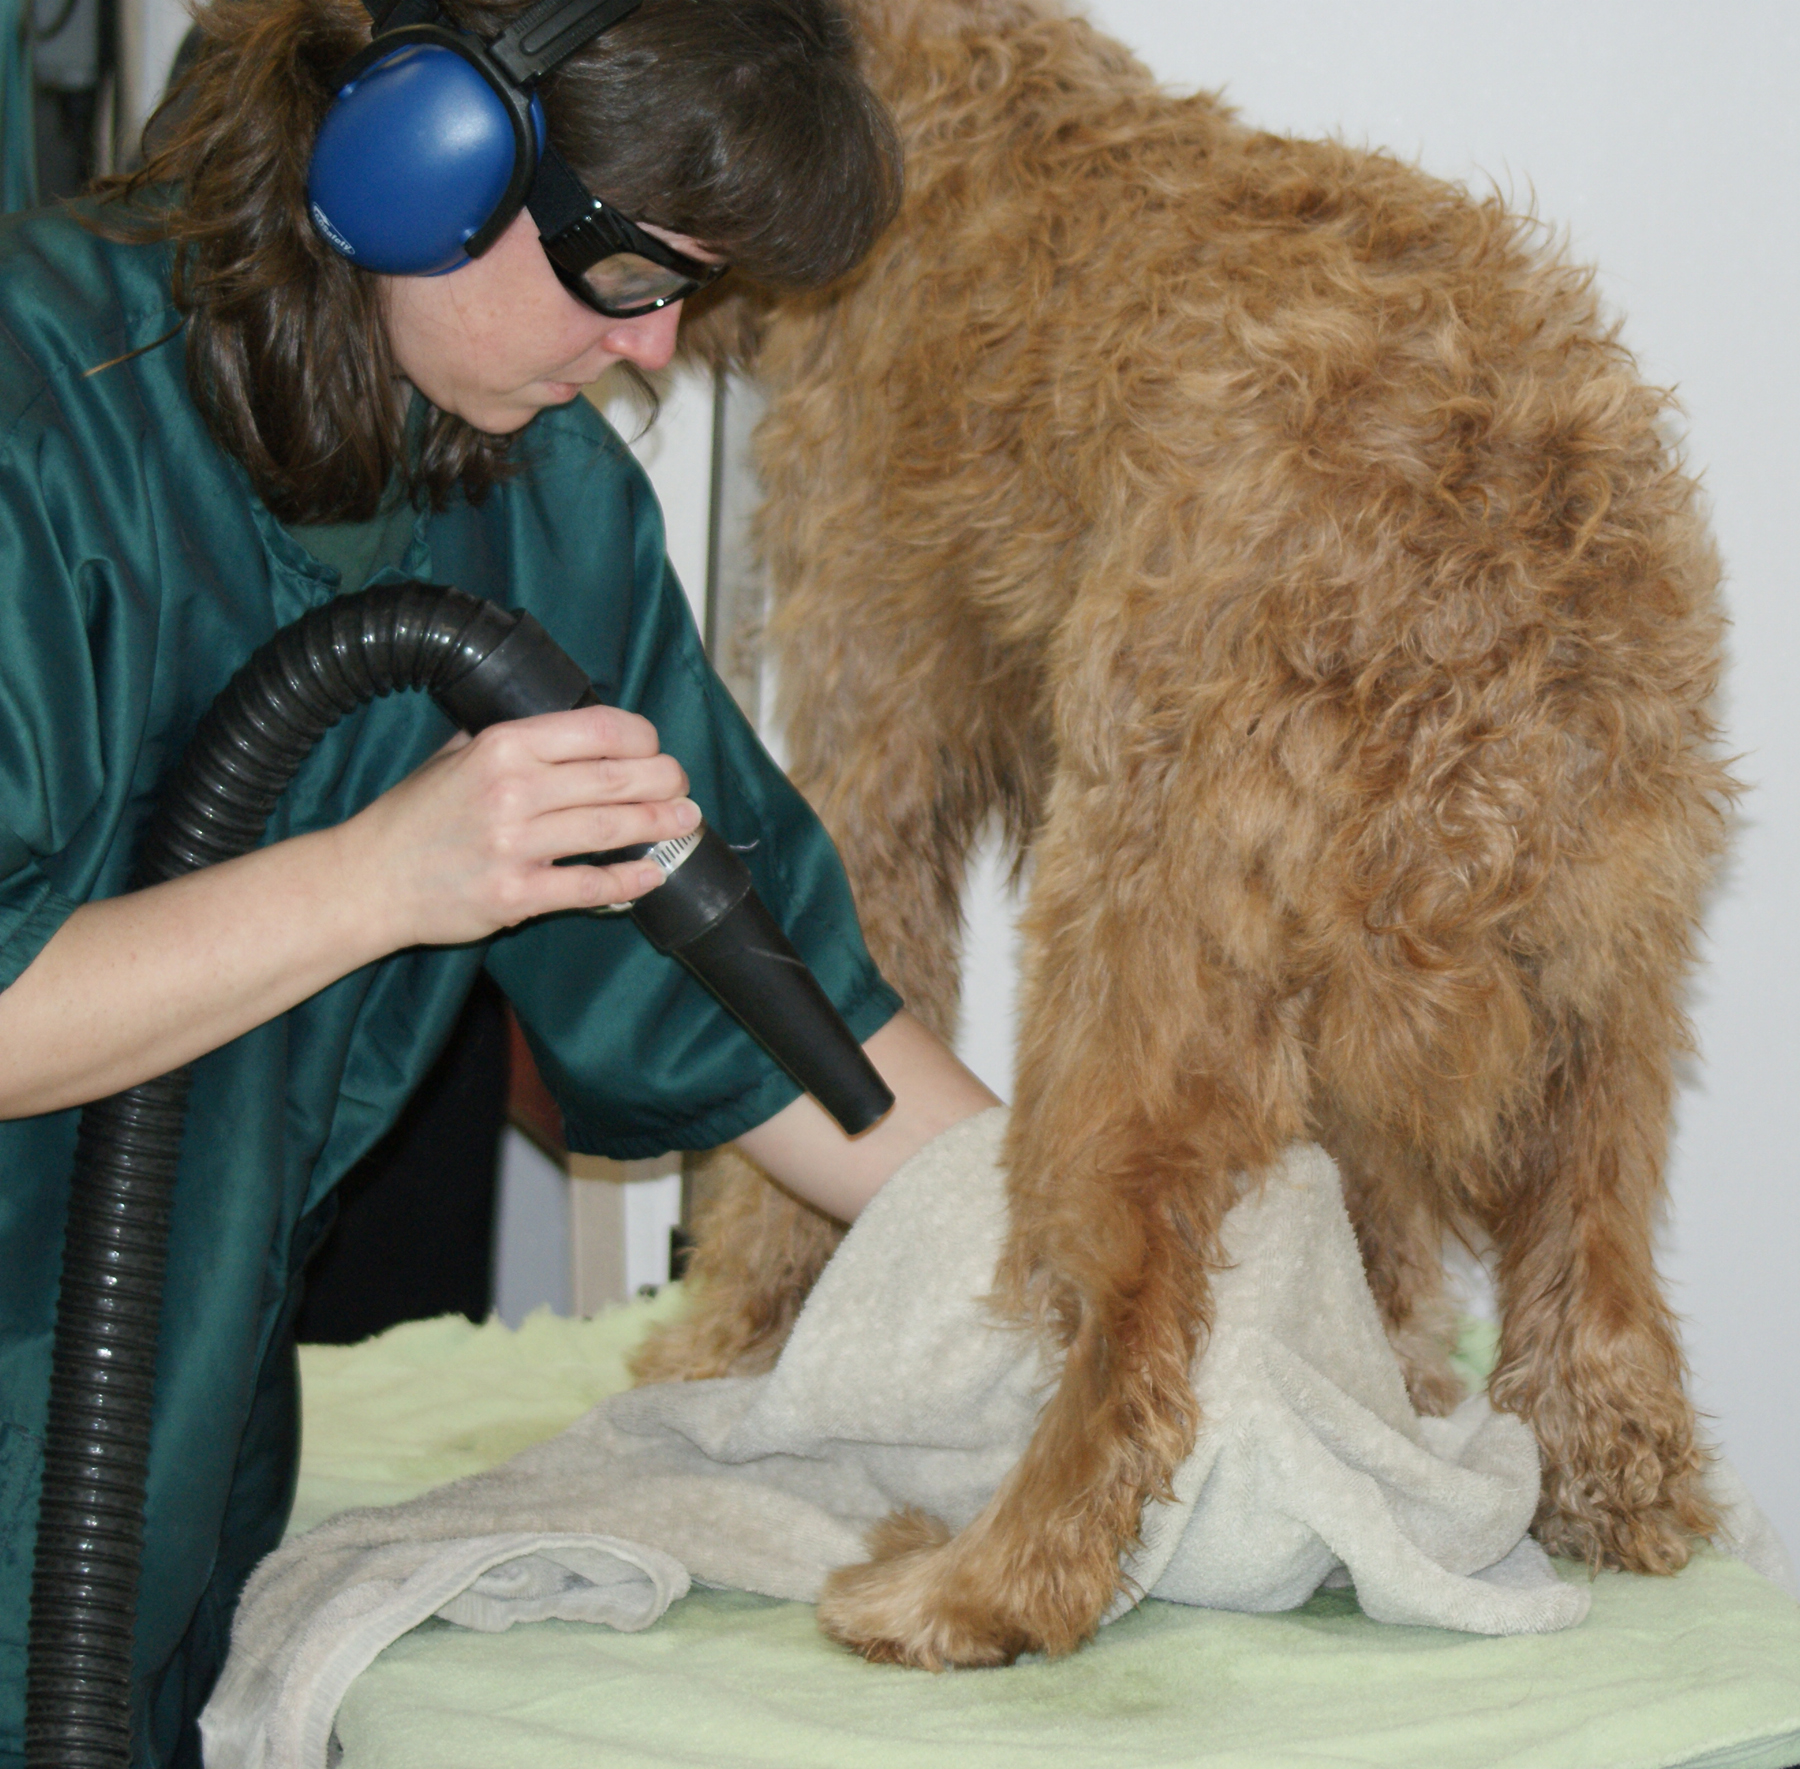
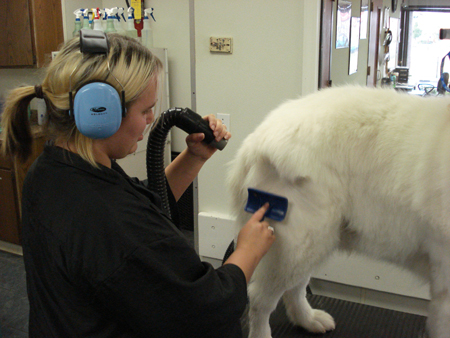
Groomers, stylists, and bathers who regularly use this drying method should protect themselves by wearing facemasks, goggles and earplugs. These simple items minimize the amount of pet fur and dander that reaches the eyes and lungs, and helps deaden the noise to protect ears from long-term exposure. Pets will appreciate some type of ear protection too!
Using the High-Velocity Dryer
This method should be introduced slowly with any new pet or a puppy. Have the pet listen to the sound before the air is introduced. Help build its confidence. Once the pet seems calm, slowly and from a distance bring the air up around its feet or rear. Do this on a single speed, with no condenser cone. Once the pet accepts that, slowly bring the air in closer and move it up the body. Try not to let the air pass over the pet’s face or in its ears. As the pet grows more accepting, try adding the condenser cone, or, boost the dryer up to a second speed and then add the cone.
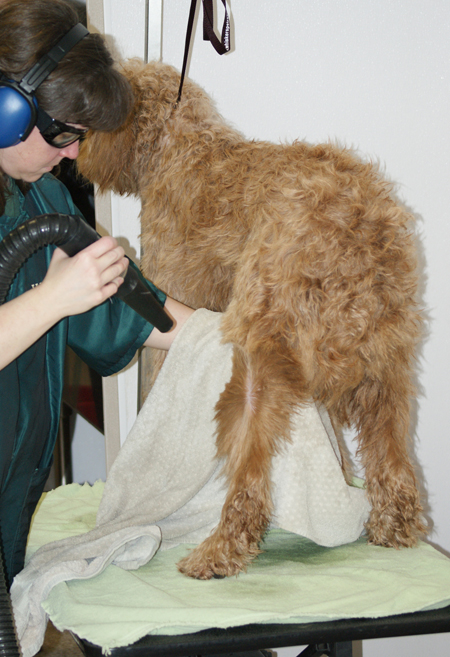 Move as rapidly as possible and work forward over the entire pet, excluding the head, watching for spray coming off the coat (the moisture you missed with the towel). Once there isn’t any more visible spray coming off the pet, return to your starting point. Holding a towel behind the spot you are working on can be helpful to reduce the amount of spray getting back on the coat.
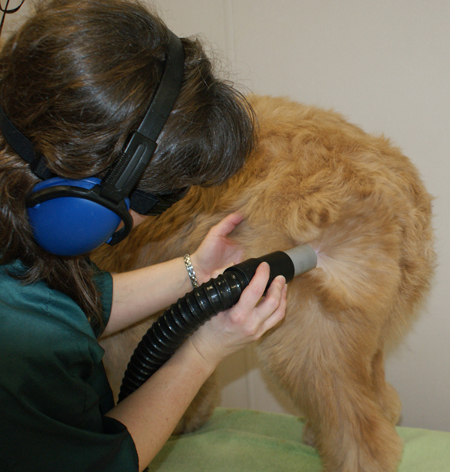
 Next, focus on getting the pet dry and the coat straightened. Hold the dryer as close as possible to the skin without curling the coat onto itself, causing tangles. Rapidly move the air around in a small, confined space. Watch the area constantly. When you first start on a section, the coat will appear slightly clumped together. As the hair dries, it will separate and become very fine. This is your signal to move to another area.
Leave the head, tail and ears until last. If the pet objects to having air blown around its face, change the direction of the air so that it does not blow over the face and ears. If the pet shows only mild objection, then hold its head for more control. If the problem continues, remove the cone to handle the neck and chest area.
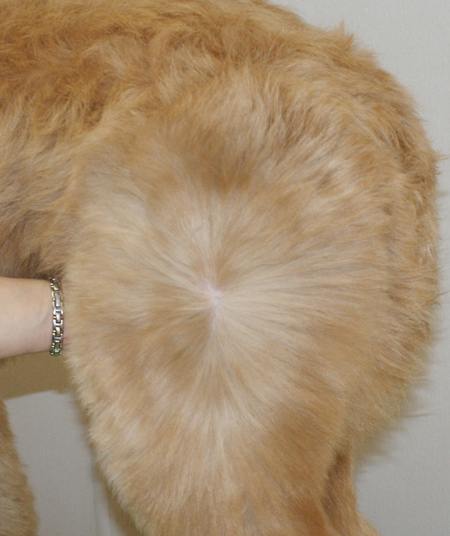
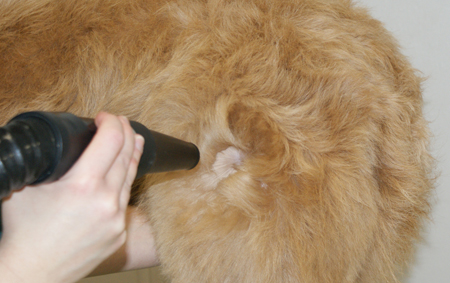
 If the coat is slightly matted or the pet is shedding heavily, you will notice the matted hair form a kind of spidery web as the coat begins to dry. Guide the air just behind the webbed section to work it out. Use the condenser cone with as much air force as the pet will allow. You must watch this process constantly to be effective. If the pet will not allow a condenser cone, or if you have worked the loose coat or mat as far as it will go with the air, give the coat a “boost” with a brush and mild air flow. Normally, this will remove the rest of the loose coat with the least amount of wear and tear on you and the pet.
 Now that the pet is dry primarily from the condenser cone work, remove the cone and hold the base of the hose right next to the skin. Most high-velocity dryers do not have a heating element, but once they have run for a few minutes, the air they produce will be warmer. Removing the condenser cone and placing the dryer hose right against the skin takes advantage of the optimum power of a high-velocity dryer to “set the coat.” Setting the coat means straightening each hair shaft. Plus, holding the warm air right next to the skin will remove any remaining dampness. Work over the entire dog using the same method as previously outlined, but now work very close to the skin.
Finish the entire drying process at the head and ears. On coats where you want a full head shape, work from the base of the skull – the occiput – forward. If you want the coat to lay tight to the skull, blow the air back towards the rear of the dog.
If the pet is fidgety, grasp the ear at the base. This firm grip offers the most control and covers the ear canal. In most cases, a fidgety pet is objecting to the air going down into the ear cannel. Don’t use a condenser cone for the head and face, but do keep the base of the hose right next to the skin for optimum speed and coat straightening.
Pets pre-clipped shorter than a #7 blade length before the bath will not need a high-velocity drying in the short areas. These areas will dry naturally as other coated areas are dried. Normally, a #7 blade length or shorter does not need straightening to yield the best results in the finish work.
Conclusion
It is important to master all drying skills. There are several drying methods and combinations to choose from, based on coat type, trim and pet tolerance. Incorrect techniques or careless attention to drying will waste more of a professional groomer’s time than almost anything else.
An active form of drying always will yield the best results. Having a beautifully clean and dried coat also will lessen the amount of time it takes to execute the final grooming procedures on a pet.
If at any point the pet objects or becomes difficult to handle, back down to the previous step that produced a positive result. If the pet severely objects to having its face dried, try placing cotton balls in the ears to reduce the air flow into the ears as well as the sound. Just don’t forget to remove the cotton balls.
Always remember, the pet takes its cue from you. Your confidence will communicate to the pet. Work gently, but firmly, using a minimal amount of verbal positive or negative reinforcement. Let your hands and eyes do the speaking for you.
The process outlined above may take just a few minutes or several, based upon the individual pet and your handling techniques. On occasion, a pet just will not accept high-velocity drying and another method will be necessary.
Once you have the pet’s cooperation, you can focus on the most effective way of using the high-velocity dryer on that pet’s individual coat type.
In trims that require a fluffy, smooth finish, you would begin at the base of the tail and blow the air forward, using a condenser cone. On many Terriers and sporting dogs, you want the coat to lay tight to the skin. With these breeds, start at the withers and work with the growth of the coat.
![]()

BECOME A MEMBER OF LEARN2GROOMDOGS.COM – CLICK THE BANNER
![]()